Table of contents
The following is a list of equipment for low-cost independent PCB manufacturing.
PCB (Printed Circuit Board) fabrication is an essential skill for anyone interested in electronics or prototyping. Traditionally, getting started in PCB production has been seen as a costly venture, requiring expensive equipment and materials. However, it is now possible to start your own small-scale PCB fabrication with as little as $500, thanks to affordable tools and methods that don’t sacrifice quality or accuracy. Below, we’ll explore how you can begin your PCB fabrication journey using cost-effective materials and techniques.
1. Film Process
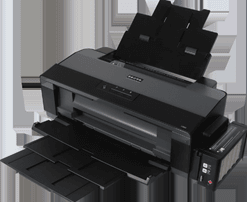
$1400.00
Film platemaking inkjet printer
- Materials
- Tracing paper (suitable for laser printers; requires a toner darkener)
- Inkjet film (suitable for inkjet printers; no toner darkener needed)
Size:A3 100pcs $20
The first step in PCB fabrication is to create the film for your circuit pattern. To do this on a budget, you have two options:
- Tracing Paper: If you have access to a laser printer, you can use tracing paper, which is widely available and affordable. However, you’ll need a toner darkener to enhance the print quality.
- Inkjet Film: For inkjet printers, inkjet film is your go-to material, and it doesn’t require a darkening agent. This is particularly useful for small-scale operations or when you’re working with limited resources.
By opting for either of these affordable materials, you can create precise films for transferring your PCB design without breaking the bank.
2. Screen Frame Process
Tools and Equipment
Building your screen frames is another critical step. For just a few dollars, you can construct your own wooden frames and then stretch the mesh over them. The process involves:
- Wooden frames
- Instead of purchasing expensive pre-made frames, you can cut and assemble your own wooden frames. Wood is both inexpensive and durable, making it a perfect choice for beginner PCB fabricators.
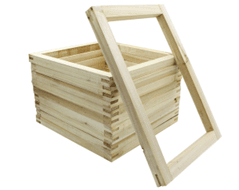
$0.5-$3.0/pcs
- Staple gun
- You’ll need basic tools like a staple gun, staples, and screen tensioning pliers to secure the mesh.
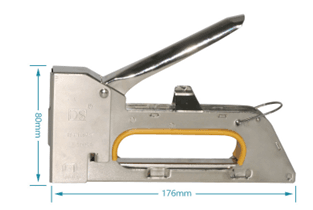
$8.5/pcs
- Staples
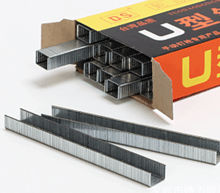
$4/pcs
- Screen tensioning pliers
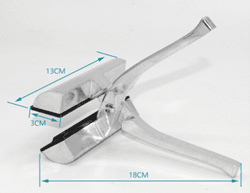
$6.00/pcs
- Screen mesh
- Mesh is necessary for printing your design onto the PCB material. Purchase affordable mesh and stretch it tightly over the wooden frame.
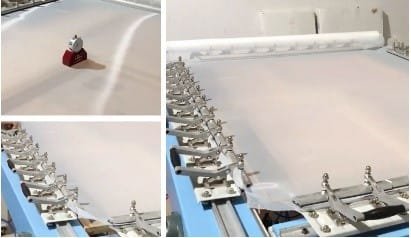
Building your own screen frames this way ensures that you can control costs while still achieving a high level of precision in your designs.
3. Photoresist Coating Process
Tools and Materials
To apply the photoresist emulsion, which is used to protect areas of the PCB that won’t be etched, you will need:
- Coating tool
- A simple coating tool can help you evenly apply the photoresist over your screen. This can be a DIY tool or an inexpensive one available online.
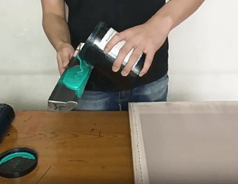
$4-$30
- Photoresist emulsion
- This material is essential for creating the pattern on your PCB. It is available in small quantities, allowing you to use only what you need for each batch.
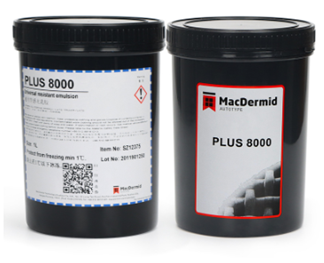
This step is where the magic happens, as the photoresist reacts to the light during exposure to form a protective layer on the PCB.
4. Drying Process
Once the photoresist is applied, the board needs to dry before exposure. Rather than investing in specialized drying equipment, you can use a heat gun to carefully dry the boards at a low temperature. A basic heat gun is a cost-effective alternative to expensive drying equipment and works just as well for small batches.
Equipment
- Heat gun
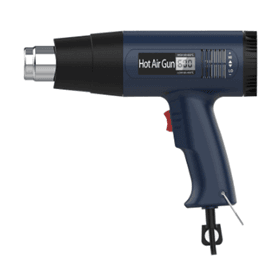
$30.0
5. Exposure Process
Exposure Equipment
Exposure can be done with a basic exposure machine, which uses UV light to harden the photoresist in the areas that are exposed. While professional machines can be costly, DIY solutions like UV light boxes or even simple sunlight can serve as alternatives for those starting out with limited funds.
- Exposure machine
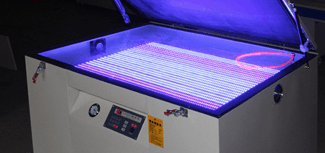
- MAX Exposure machine
- $450.00
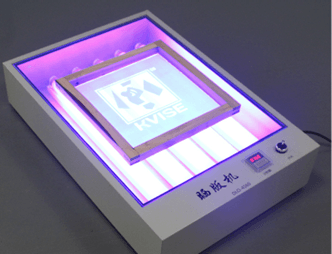
- Min Exposure machine
- $140.00
6. Development Process
Tools:The following tools are only available to appropriate users.
- High-pressure water gun (for individual users only)
- After exposure, the next step is to remove the excess photoresist. This is done using a high-pressure water gun to rinse away the unexposed areas. The development process is quick and easy, and the water gun is a low-cost tool that can be found at most hardware stores.
$20.00
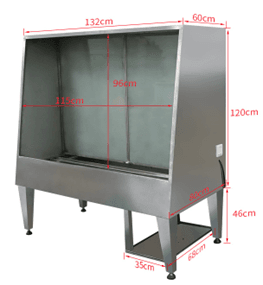
$680
- Swing machine (personal adoption only)
- After exposure, you can also buy a device similar to the one that shakes left and right, and if you can, you will also need to heat the solution.
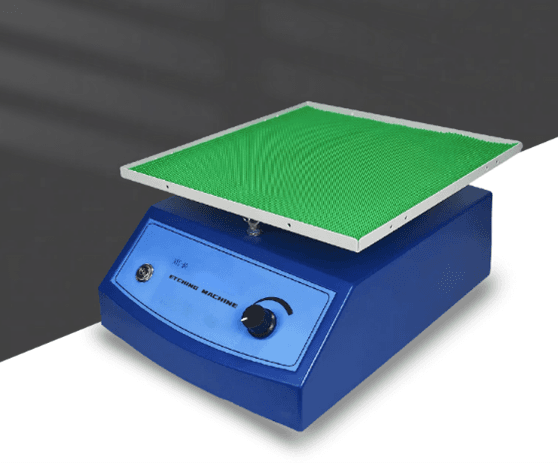
$150.00
- Etching machine (factory only)
- For more information about etching machines you can view our equipment documents.
- Nameplate Small Chemical Etching Machine
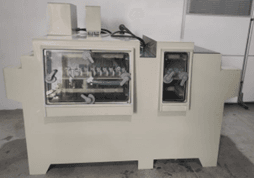
$8300.00/PCS
- Wet PCB Etching machine (Large factories only)

$4500/meter
7. Printing Process
Tools and Materials
Once the pattern is ready, you need to print the design onto the PCB material. For this, you’ll need a screen printing table or butterfly clips to hold the screen in place, as well as a squeegee to spread the ink evenly across the screen.
- Screen printing table (or butterfly clips for holding the screen)
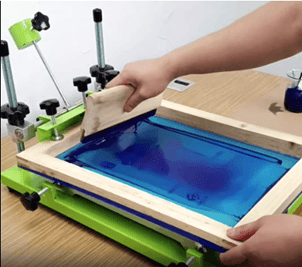
$110.00
- Squeegee
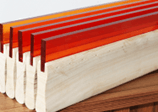
$9.00/pcs
- Ink (or paste)
You can choose to use ink or paste for the printing process. A small amount of ink can cover many boards, and by carefully applying it with a squeegee, you can transfer your design effectively.
8. Auxiliary Solvents
To maintain quality and reuse materials efficiently, you’ll need a few auxiliary solvents:
- Materials:
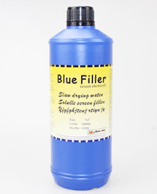
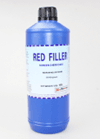
- Screen filler (for repairing mesh pinholes)
- Use this to repair pinholes in the mesh so your screens remain in good condition for multiple uses.
- Screen filler (for repairing mesh pinholes)
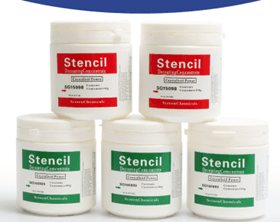
- Emulsion remover (to clean photoresist for screen reuse)
- After the print is completed, you can use emulsion remover to clean the photoresist, allowing you to reuse the screen.
- Ink thinner (for diluting ink)
- If your ink is too thick, you can use ink thinner to adjust the consistency, ensuring smooth printing.
- Screen cleaner (for removing ink residue)
- Finally, use screen cleaner to remove any ink residue from the screens after printing.
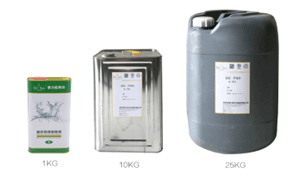
These solvents are inexpensive and will extend the life of your equipment while improving the quality of your production.
Low-Cost PCB Fabrication
Starting your PCB fabrication journey with just $500 is not only possible but also practical if you focus on cost-effective tools and methods. With a few basic supplies like tracing paper, inkjet film, wooden frames, a heat gun, and simple exposure and printing tools, you can begin creating professional-quality PCBs without a huge initial investment.
This approach is ideal for hobbyists, students, or small-scale businesses looking to enter the world of PCB manufacturing without a significant financial commitment. By focusing on the essentials and utilizing affordable alternatives, you can kickstart your PCB fabrication research and production with minimal cost, allowing you to learn and grow as a PCB fabricator on your own terms.
Let’s see how large PCB factories make PCBs
Please do not reprint without permission. If you need to reprint this article, please indicate the source of the article:wetetched.com
Nigen WET
