Explore the various methods for stainless steel processing, including laser cutting, CNC machining, chemical etching, stamping, and electropolishing. Learn the costs, advantages, and suitability for high-precision applications like stainless steel coffee filter nets.
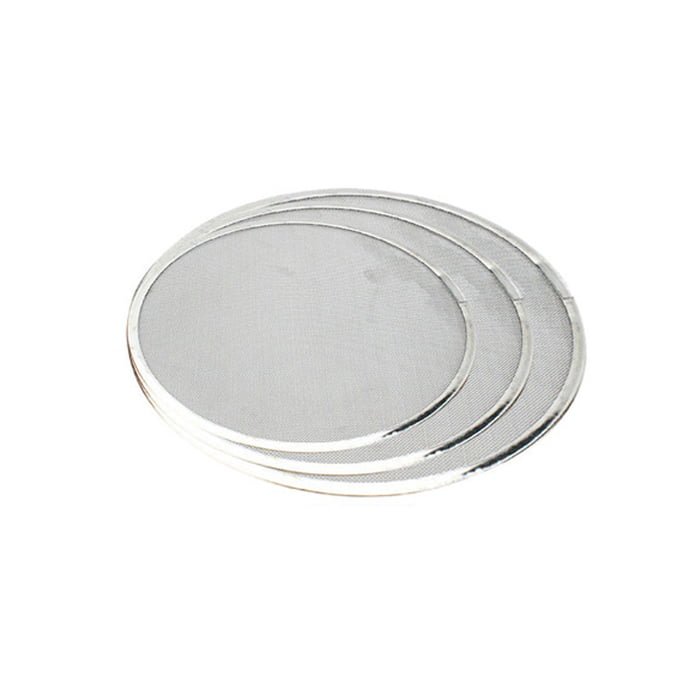
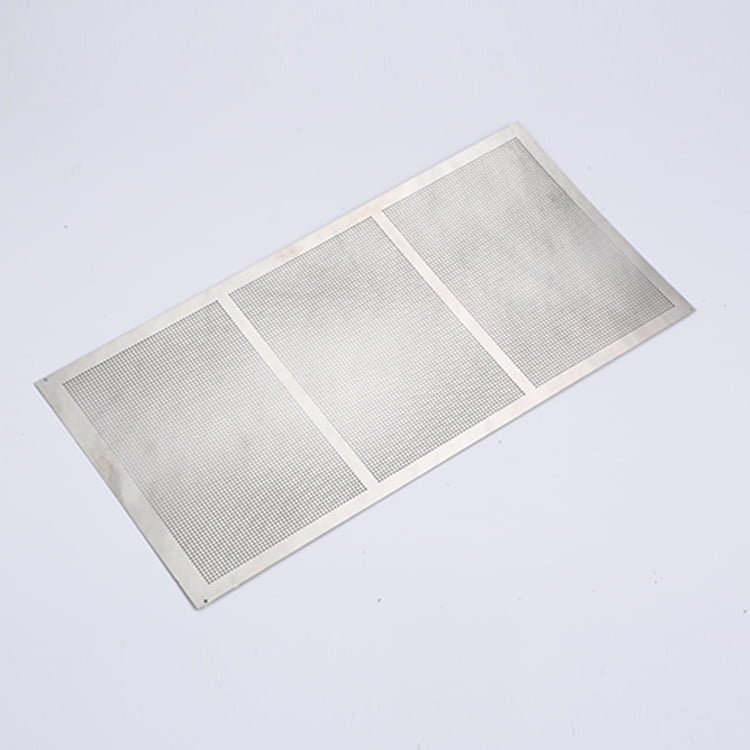
SUS316 Stainless Steel Filter Mesh
Table of contents
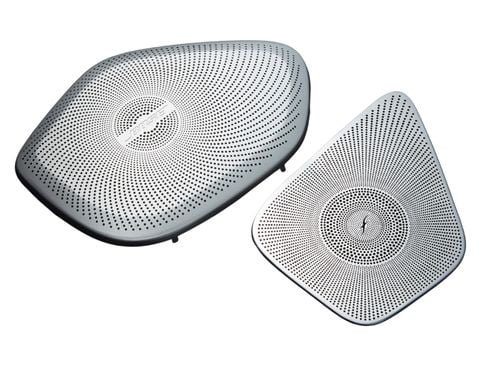
Case study:SUS 316 Stainless Steel Coffee filter
200,000 pcs delivery quantity as an example.
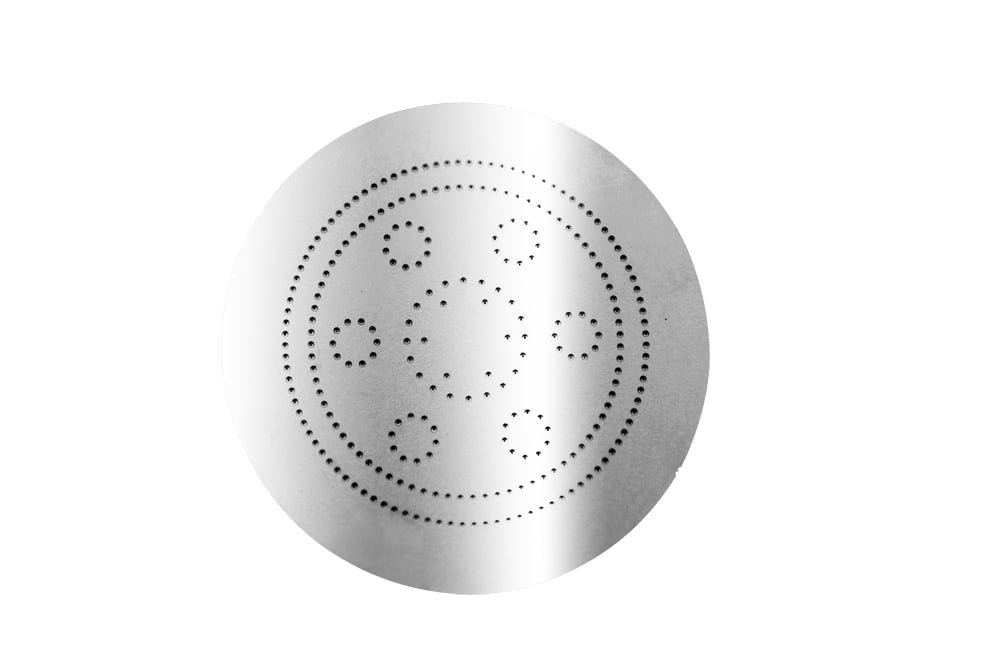
Overall 3.5 inch diameter, 0.2 mm thickness, 0.05 mm mesh aperture.
Stainless Steel Processing Methods and Costs
In industries that require precision, the processing of stainless steel is a critical aspect of production. Stainless steel is widely used in applications that demand high corrosion resistance, strength, and durability. This article explores several common methods of SUS 316 stainless steel processing, analyzing each method’s advantages, disadvantages, and costs, with a specific focus on producing SUS 316 stainless steel coffee filter nets.
1. Laser Cutting
Equipment Costs:
- The cost of laser cutting machines can range from $100,000 to $500,000, depending on the machine’s precision, power, and automation level. For high-precision applications, such as cutting stainless steel coffee filter nets with small mesh sizes (0.05mm holes), a more advanced machine is required, which can drive the price towards the upper end of the range.
- Additional Costs: Post-processing equipment, such as deburring and cleaning systems, can add another $10,000 to $50,000 to the overall investment.
Production Costs:
- Laser cutting is an efficient method for high-volume production but can result in thermal deformation, especially with thin stainless steel (e.g., 0.2mm thick). This can affect the flatness of the material, requiring additional steps to maintain quality.
- Maintenance Costs: Regular maintenance for high-end laser cutting machines typically costs around $5,000 to $10,000 per year.
Suitability:
- Laser cutting is well-suited for intricate designs and precise cuts. However, due to the thermal impact on thin stainless steel, it may not be ideal for applications requiring perfect flatness, such as precision mesh filter production.
Recommended Manufacturer:
- Trumpf (trumpf.com): A leading manufacturer specializing in high-precision laser cutting machines.
- Related Materials: laser cutting SUS 316 stainless steel process pdf
2. CNC Machining
Equipment Costs:
- CNC machines range from $150,000 to $600,000, depending on the complexity, precision, and automation features. For applications like stainless steel filter net production, where high precision is essential, the equipment costs tend to be on the higher end.
- Tooling and Fixtures: Custom fixtures may be required to handle thin stainless steel, which could add another $20,000 to $50,000 to the total cost.
Production Costs:
- CNC machining is excellent for precision and complex designs, but it is slower than laser cutting. This results in higher per-unit costs when producing large volumes (such as 200,000 units).
- The process may also induce material deformation due to the clamping pressure on thin sheets of stainless steel, leading to potential flatness issues.
- Maintenance Costs: High-precision CNC machines typically incur annual maintenance costs of around $10,000 to $20,000.
Suitability:
- CNC machining is ideal for intricate, custom designs with tight tolerances. However, due to slower processing speeds, it is not the most cost-effective option for high-volume production of stainless steel filter nets.
Recommended Manufacturer:
- Haas Automation (haascnc.com): Known for providing precision CNC machines with high versatility.
- Related Materials: CNC Machining sus 316 stainless steel process pdf
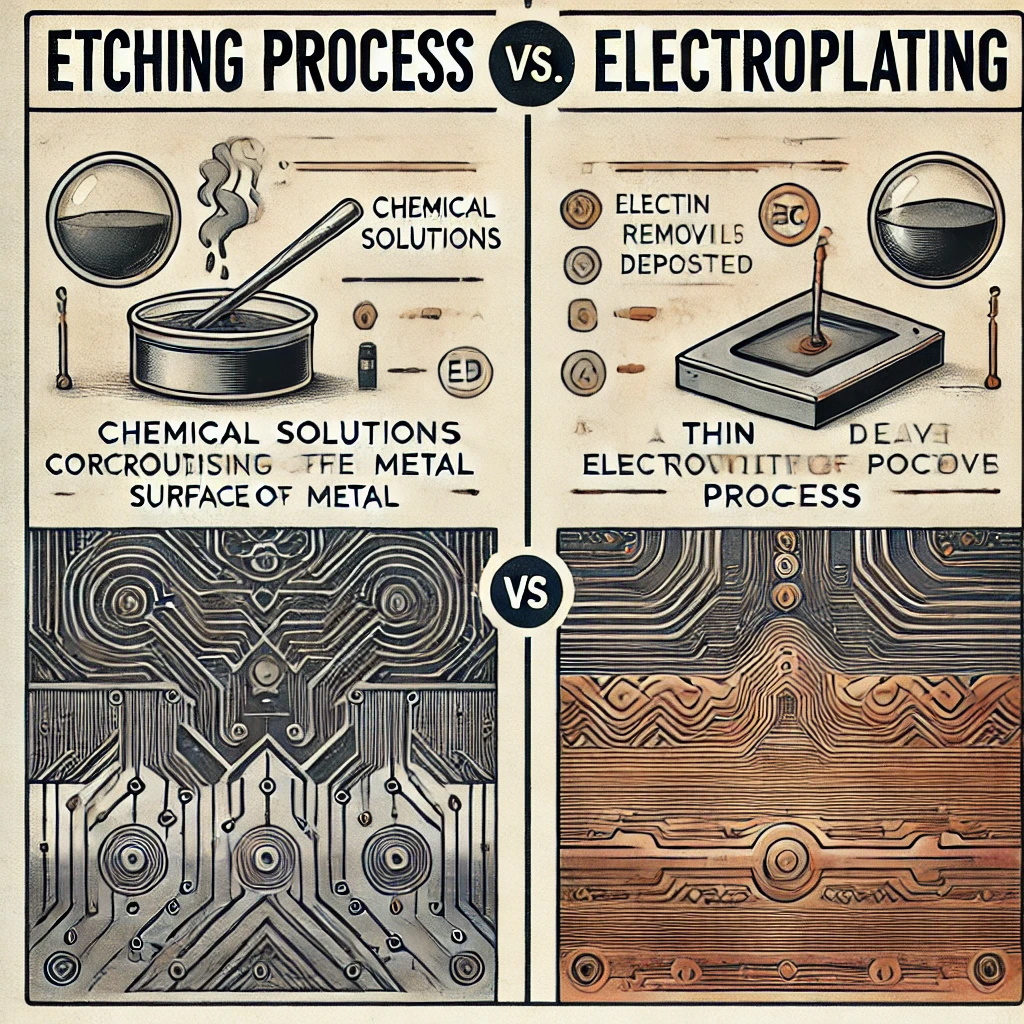
3. Chemical Etching
Equipment Costs:
- Chemical etching systems are generally much more affordable, with equipment costs ranging from $50,000 to $150,000. The primary investment is in etching tanks, chemical handling systems, and automated control systems.
- Additional Costs: Support equipment, such as wash tanks and drying systems, can add another $10,000 to $30,000.
Production Costs:
- Chemical etching is perfect for high-precision, high-volume production, especially for thin materials like stainless steel. The process is cold, which means there are no thermal effects on the material, ensuring that the flatness of the stainless steel remains intact.
- Maintenance Costs: The annual maintenance costs for chemical etching systems are relatively low, ranging from $3,000 to $5,000 per year for chemicals and system upkeep.
Suitability:
- Chemical etching is ideal for producing fine mesh designs (like the 0.05mm holes in stainless steel coffee filter nets). It is a fast, efficient process that maintains material integrity and precision, making it an excellent choice for large-scale production.
Recommended Manufacturer:
- Dragon Etching (dragonetching.com): A leading provider of chemical etching equipment with a focus on high-precision applications.
- Wet Etched (wetetched): A leading provider of chemical etching services with a focus on high-precision applications.
- Related Materials:Chemical etching SUS 316 stainless steel process pdf
4. Mechanical Stamping
Equipment Costs:
- Stamping presses are typically priced between $100,000 and $500,000, depending on the machine’s tonnage and features. For high-precision stamping of stainless steel filter nets, additional investment in tooling and dies is often required.
- Die Costs: Custom dies for mesh patterns may cost between $10,000 and $30,000.
Production Costs:
- Mechanical stamping is a high-speed process, making it ideal for mass production. However, for thin stainless steel (like 0.2mm), stamping can cause material deformation, affecting the flatness and precision of the filter net.
- Maintenance Costs: Stamping equipment requires relatively low maintenance, with annual costs typically around $2,000 to $5,000.
Suitability:
- While stamping is excellent for large runs of simple designs, it is less suited for producing precise, fine mesh patterns due to its potential for material deformation.
Recommended Manufacturer:
- AIDA Engineering (aida.co.jp): Specializes in high-volume stamping presses and die sets.
- Related Materials: Mechanical Stamping sus 316 stainless steel process pdf
5. Electropolishing
Equipment Costs:
- Electropolishing equipment is relatively affordable compared to other methods, with system costs ranging from $30,000 to $100,000, depending on size and automation features.
- Additional Costs: Equipment for handling the electrochemical process and supporting systems like polishing tanks can add $5,000 to $20,000.
Production Costs:
- Electropolishing is primarily used as a surface finishing process. It does not impact the mesh geometry or hole sizes but significantly improves the surface quality of stainless steel, enhancing its corrosion resistance and appearance.
- Maintenance Costs: Maintenance and chemical replenishment typically cost $5,000 to $10,000 per year.
Suitability:
- Electropolishing is best used to improve the surface finish of already-manufactured filter nets, making them more resistant to corrosion and giving them a shiny, smooth appearance. It is not a method for creating mesh designs but an excellent complement to other processes.
Recommended Manufacturer:
- MacDermid Alpha (macdermidalpha.com): A global leader in electropolishing solutions for stainless steel.
- Related Materials:Electropolishing sus 316 stainless steel process pdf
Processing technology comparison table
| Method | Equipment Costs (USD) | Production Costs | Maintenance Costs (Annual) | Flatness Issues | Best Suited For | Recommended Manufacturer |
|---|---|---|---|---|---|---|
| Laser Cutting | $100,000 – $500,000 | Higher | $5,000 – $10,000 | Thermal deformation | Precision cutting for complex designs | Trumpf (trumpf.com) |
| CNC Machining | $150,000 – $600,000 | Higher | $10,000 – $20,000 | Clamping-induced deformation | High precision and complex shapes | Haas Automation (haascnc.com) |
| Chemical Etching | $50,000 – $150,000 | Low | $3,000 – $5,000 | None | High-volume, fine mesh production | WET Etched (wetetched.com) |
| Mechanical Stamping | $100,000 – $500,000 | Low | $2,000 – $5,000 | Deformation from stamping | Large-volume production of simple designs | AIDA Engineering (aida.co.jp) |
| Electropolishing | $30,000 – $100,000 | Low | $5,000 – $10,000 | None | Surface finishing and corrosion resistance improvement | MacDermid Alpha (macdermidalpha.com) |
Optimal solution: Chemical etching
For large-scale production of stainless steel coffee filter nets with 0.05mm mesh holes, chemical etching emerges as the most cost-effective and precise method. It ensures material flatness, delivers excellent precision for fine mesh patterns, and is well-suited for high-volume production. Additionally, electropolishing can be used to enhance the surface quality and corrosion resistance of the finished filter nets.