This website uses cookies so that we can provide you with the best user experience possible. Cookie information is stored in your browser and performs functions such as recognising you when you return to our website and helping our team to understand which sections of the website you find most interesting and useful.
WET Etching
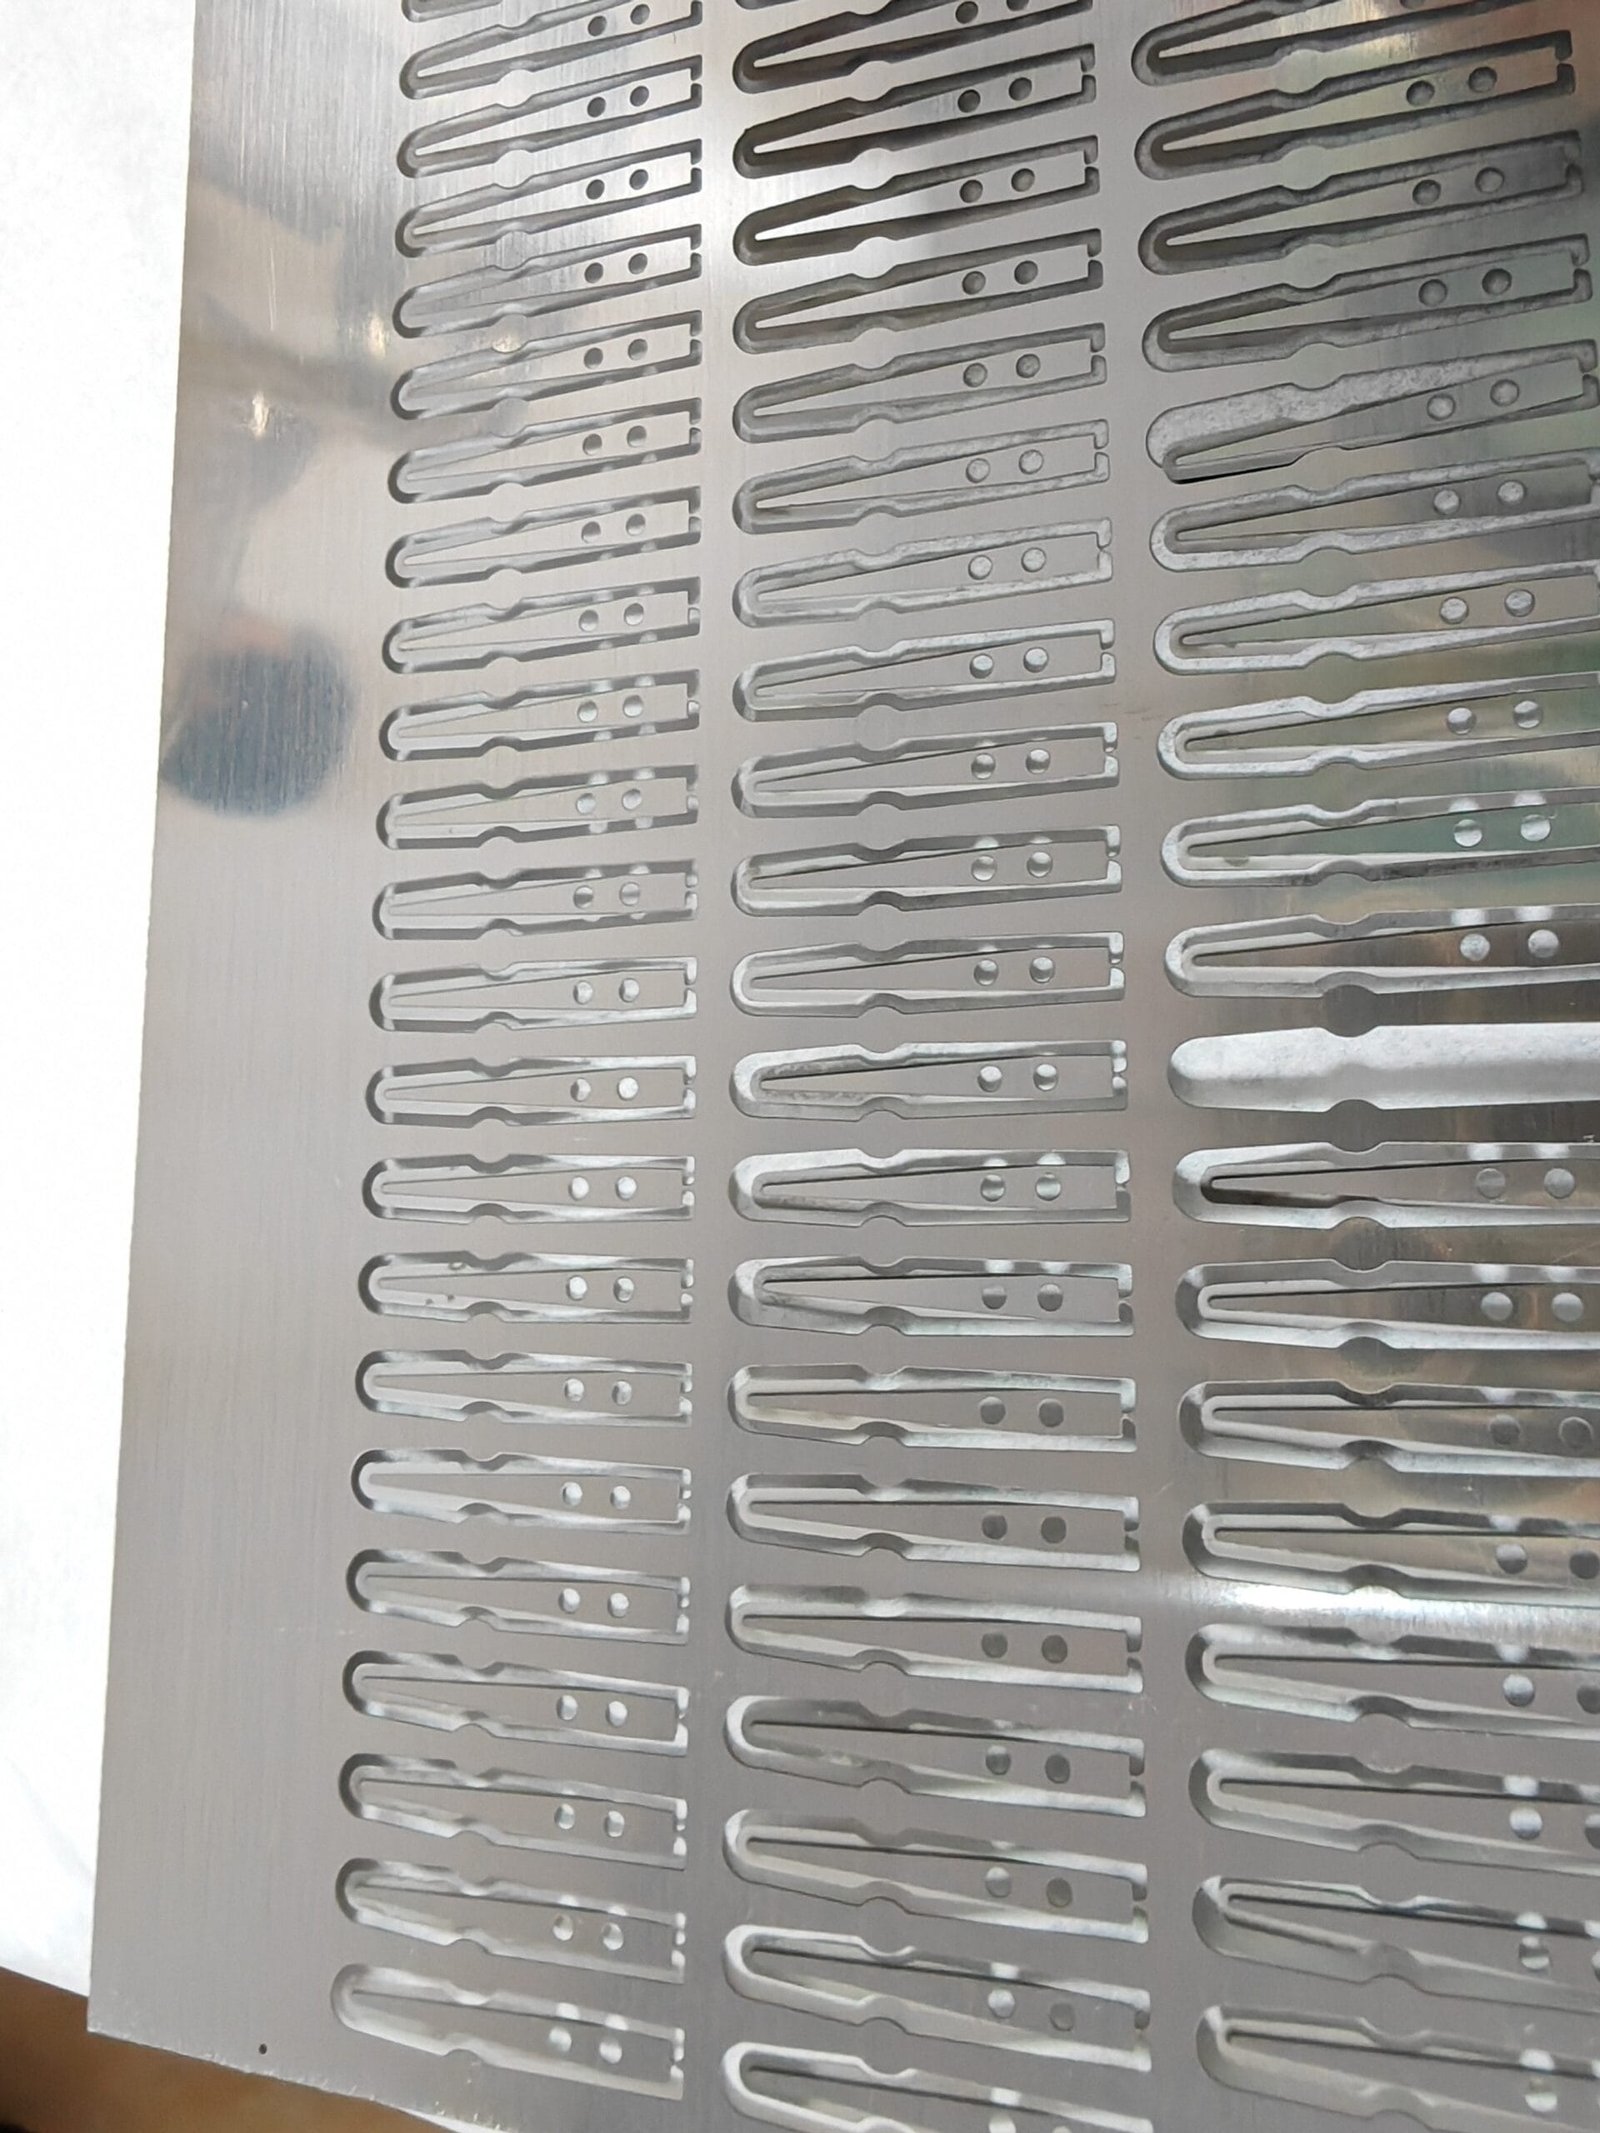
Chemical Etching Machine for Micro Surgical Blades, Crescent Blades, and Keratomes Manufacturing
- By wetetched.com
- 1 Apr 2026
- 0
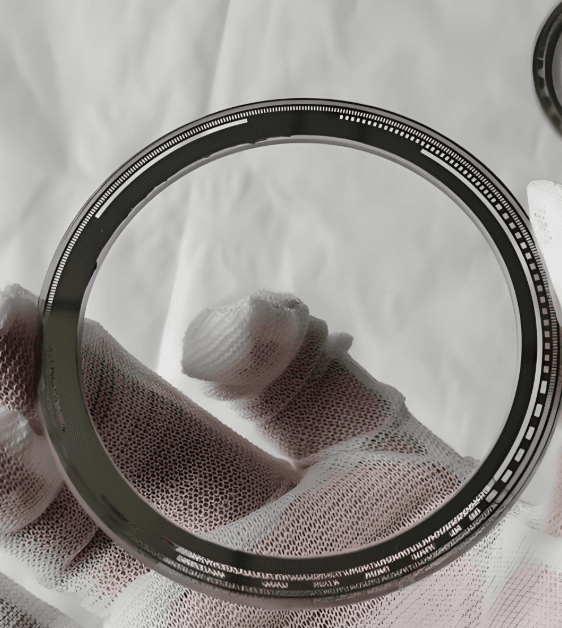
Optical Encoder Accuracy: The Science Behind Chemically Milled Gratings
- By wetetched.com
- 9 Jul 2025
- 0
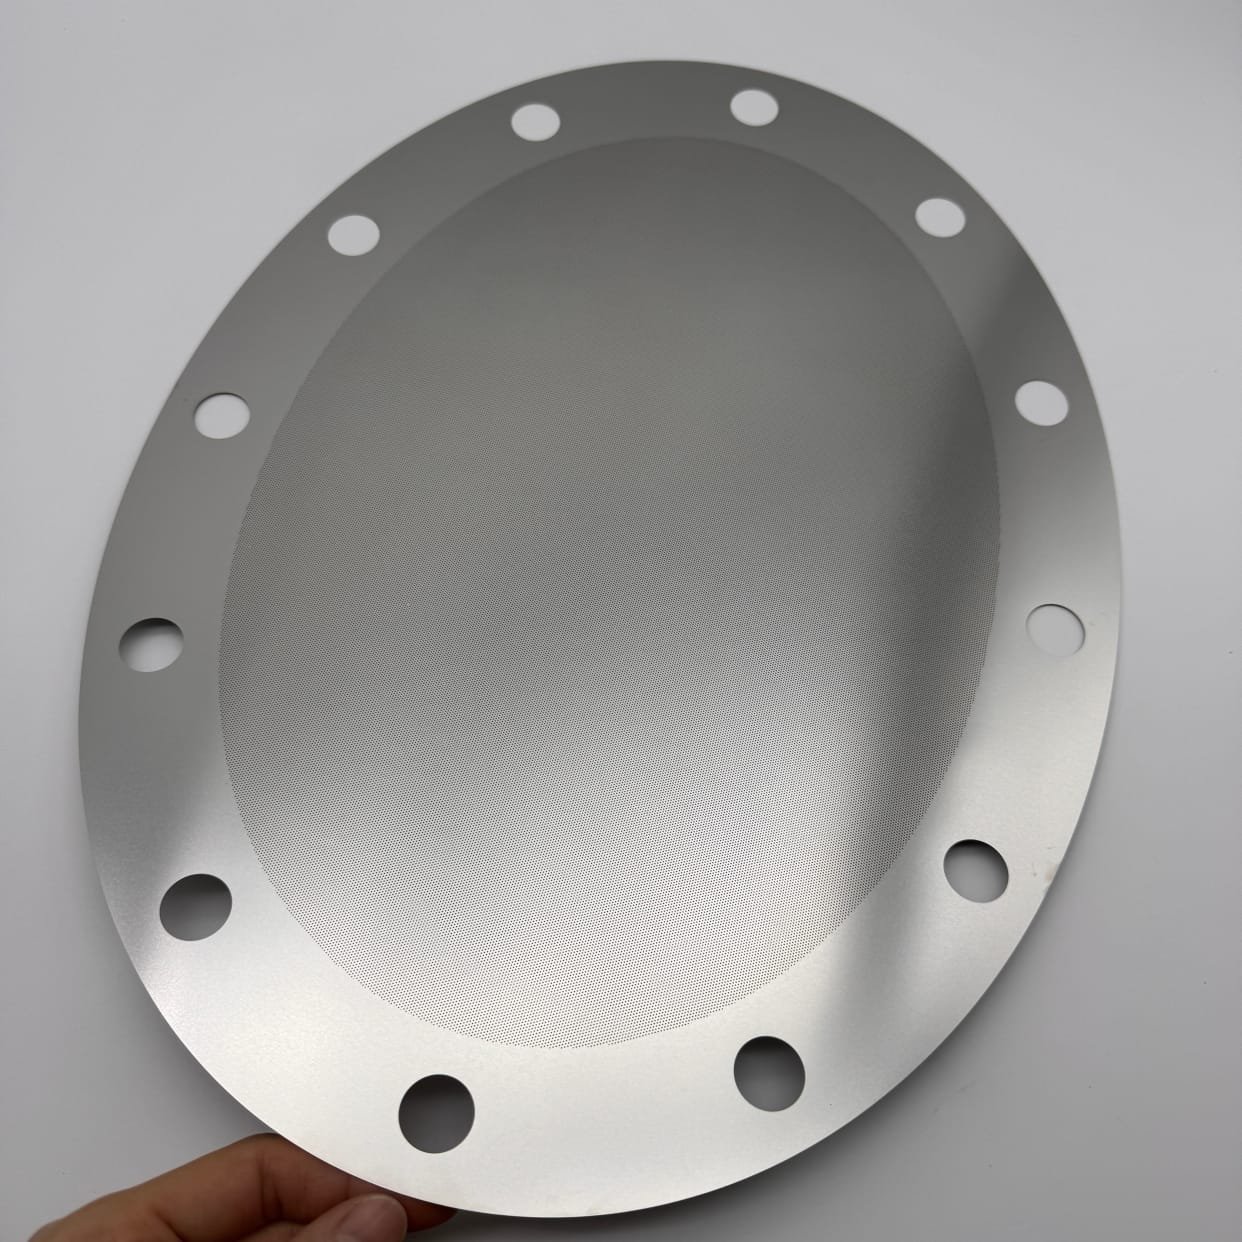
Guardians of Purity: Micron-Perfect Nickel Mesh Filters for Semiconductor Fabs
- By wetetched.com
- 9 Jul 2025
- 0
Precision Gratings Explained | Optical Encoder Accuracy & Chemically Milled Gratings
- By wetetched.com
- 9 Jul 2025
- 0
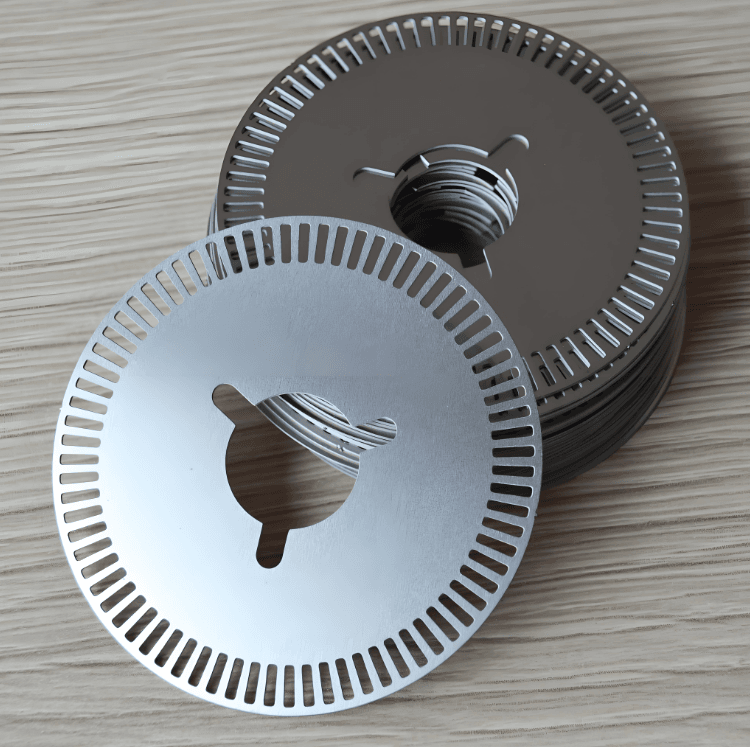
Maximize Encoder Lifespan: Corrosion-Resistant Stainless Steel Gratings via Chemical Milling
- By wetetched.com
- 9 Jul 2025
- 0
Scaling Advanced Chemical Etching Strategies for High-Volume Production
- By wetetched.com
- 22 Apr 2025
- 0

Why Chemical Etching in Everyday Tech: The Invisible Innovation
- By wetetched.com
- 22 Apr 2025
- 0
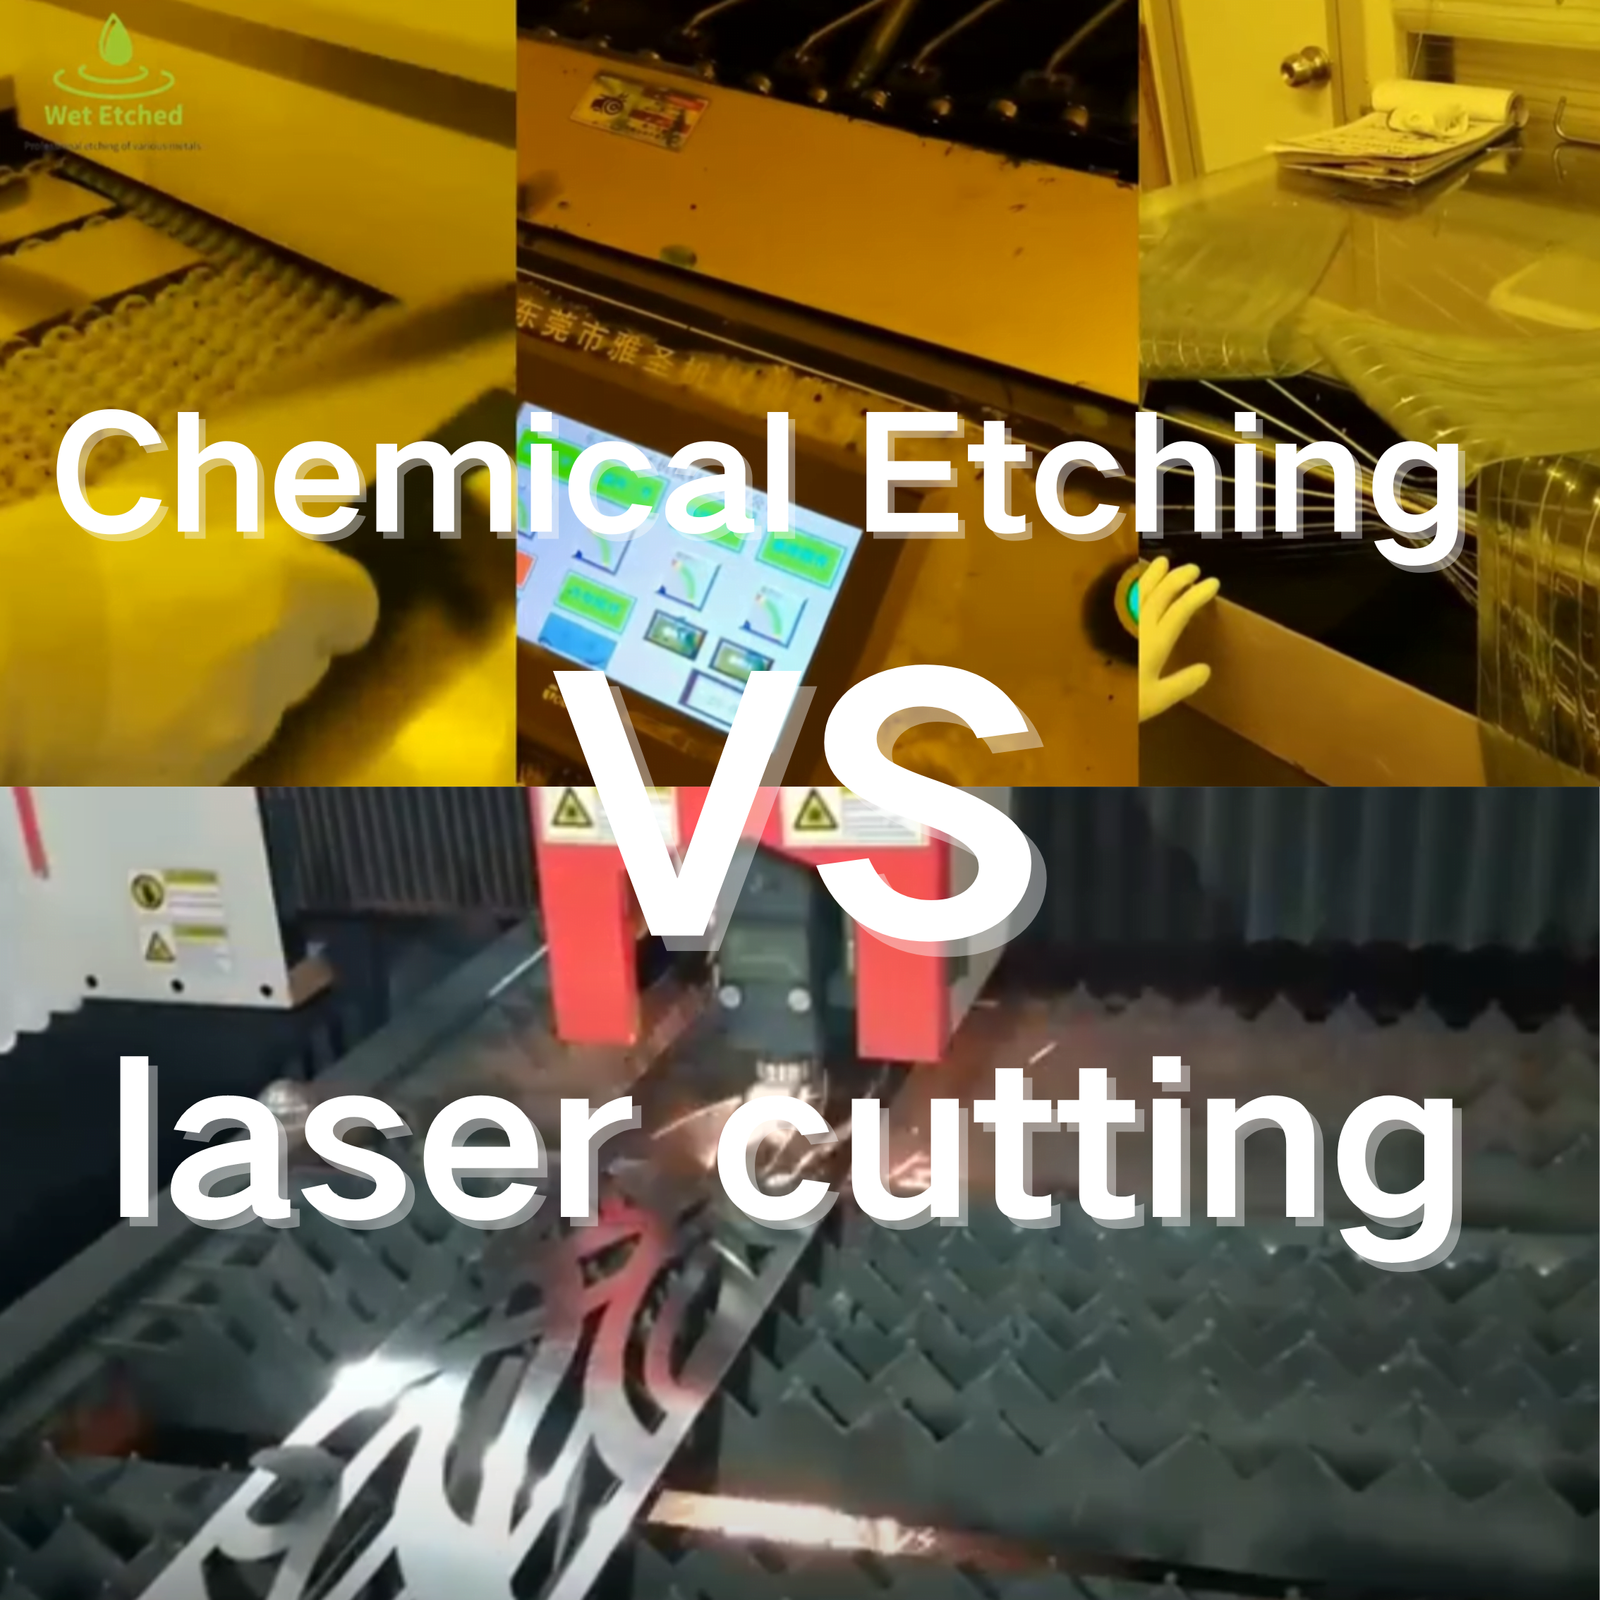
Why Advanced Chemical Etching Beats Laser Cutting for Complex Metal Parts
- By wetetched.com
- 22 Apr 2025
- 0
Why Top Automotive Brands Choose PCM for Stainless Steel Microcomponents
- By wetetched.com
- 10 Apr 2025
- 0