
Makers Debate Milling vs. Chemical Etching for Home PCB Fabrication
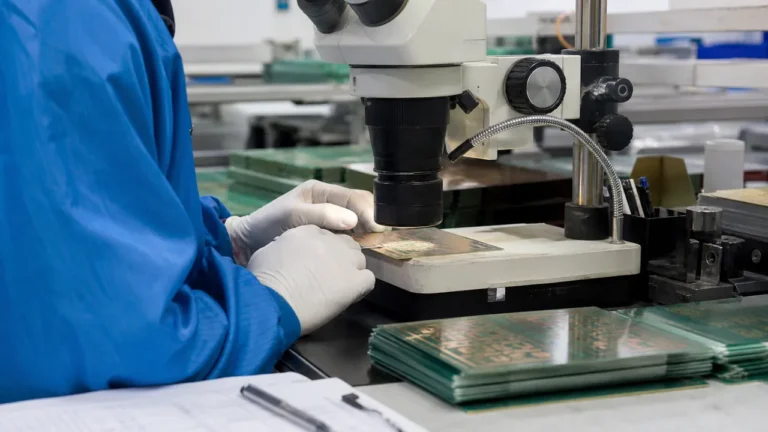
As the maker movement expands, hobbyists and small-scale engineers increasingly bring printed circuit board (PCB) prototyping in-house. Two dominant approaches compete for attention: mechanical milling and chemical etching. Each carries distinct trade-offs in time, cost, precision, and safety, making the choice highly project-dependent.
Online Discussion Sparks Fresh Comparison

A recent thread on the Lemmy !askelectronics community has reignited the debate. A user with access to both methods asked the community to weigh in, noting that milling “seems to take awfully long and produces a lot of noise and glass fiber dust.” The post quickly gathered 32 points and 14 comments, reflecting strong engagement from electronics enthusiasts.
The question touches on a fundamental tension for PCB prototyping. Milling requires no chemical resist or etching solutions, but the process can be slow and mechanically taxing on both the machine and the operator’s ears. Conversely, chemical etching demands careful handling of corrosive substances yet often produces faster results for complex boards.
Mechanical Milling: Precision at a Price
Desktop CNC mills carve copper-clad boards by physically removing unwanted copper, leaving behind the desired traces. This method skips the multi-step photolithography or toner-transfer processes used in chemical etching, reducing setup time for simple designs. However, as the Lemmy user pointed out, the trade-offs include high noise levels, airborne glass-fiber dust from the FR-4 substrate, and extended machine run-times for boards with dense trace patterns. Tool wear is another factor, as very fine bits dull quickly and can break, adding to per-board costs.
Chemical Etching: Speed and Scalability
Chemical etching remains the go-to for many because it excels at producing fine, intricate traces without mechanical stress. The process typically involves transferring a resist pattern onto the copper, then submerging the board in a heated etchant—most commonly ferric chloride or ammonium persulfate. Wet chemical etching of copper is a well-understood industrial technique that scales down effectively to the home lab, provided proper ventilation and chemical disposal are observed. Many hobbyists use dedicated wet etching machines to control temperature and agitation, improving consistency.
The main downsides are the need for etch resist, the corrosive nature of etchants, and the disposal of waste solutions. Small-scale users often resort to DIY resist methods like toner transfer or UV-curable dry film, which add steps but allow rapid iteration once the setup is dialed in. For prototypes requiring multiple units, etching a panelized board can be faster than milling each one individually.
Community Insights and Practical Considerations
The Lemmy discussion highlighted that user preference often boils down to workshop constraints. Apartment-based makers with limited space and noise concerns may lean toward the quieter chemistry route, while those in well-ventilated garages might accept the dust and din of milling for the simplicity of skipping chemicals. Cost comparisons are nuanced: a budget mill can rival the price of a good etching setup, but consumables like end mills add up over time, whereas bulk etchants are relatively cheap.
Safety also divides the two. Milling generates fiberglass particulates that require a shop vacuum or enclosure to contain. Chemical etching mandates gloves, eye protection, and a plan for neutralizing and disposing of spent solutions. Neither method is inherently safer; the right choice depends on the user’s ability to manage the associated hazards.
| Aspect | Chemical Etching | Mechanical Milling |
|---|---|---|
| Setup complexity | Requires resist transfer & etchant bath | Load board, run G-code; no chemistry |
| Typical processing time | 10–30 min etching per board | 30–90 min milling per board |
| Trace resolution | ~0.1 mm with good resist | ~0.2 mm limited by tool diameter |
| Waste & hazards | Corrosive liquids; chemical disposal | Glass-fiber dust; loud noise |
| Consumable costs | Etchant, resist film/ink | End mills, sacrificial boards |
| Best for | Fine traces, multiple copies | Quick one-offs, simple designs |
Looking ahead, the debate is likely to intensify as desktop PCB printers and low-cost laser etchers enter the market. For now, community wisdom suggests keeping both methods in the toolbox: milling for rapid, single-side prototyping and chemical etching for finer, repeatable runs. The Lemmy thread serves as a reminder that no single solution fits all, and the most informed choice comes from understanding the trade-offs firsthand.
Why This Matters
This maker debate reflects larger trends in decentralised electronics manufacturing. As prototyping tools become more accessible, understanding the practical compromises between milling and etching helps hobbyists and small businesses choose processes that align with their workspace, safety tolerance, and project timelines, ultimately influencing how quickly hardware innovations can move from idea to physical board.
FAQ
What are the main methods for DIY PCB fabrication?
The two primary methods discussed are mechanical milling, which uses a CNC machine to carve away unwanted copper, and chemical etching, which dissolves exposed copper using an etchant after applying a resist pattern. Each method has its own strengths and weaknesses in terms of speed, cost, and complexity.
Why do some makers prefer chemical etching?
Chemical etching can produce very fine traces without mechanical stress and is often faster for complex or multiple boards. It also supports double-sided designs with plated through-holes more easily, making it a versatile choice for advanced prototyping.
What are the drawbacks of milling PCBs?
Milling is noisy, generates fiberglass dust, and can be slow for dense boards. Tool wear is significant, with fine bits breaking easily, and the achievable trace width is limited by the tool diameter. However, it avoids chemicals entirely, which simplifies setup for simple designs.
How does the choice impact prototyping speed?
For single, simple boards, milling can be faster because it bypasses resist application and etching steps. For complex designs or multiple copies, chemical etching is usually quicker overall, as the etching process itself takes minutes once the resist is in place, while milling each copy adds significant machine time.
Source: Lemmy !askelectronics